How to Make a Record
Ordering Records with Hellbender Is As Easy As 1, 2, 3!
Many of our customers are ordering vinyl for the first time, so we wanted to make it as simple as possible!
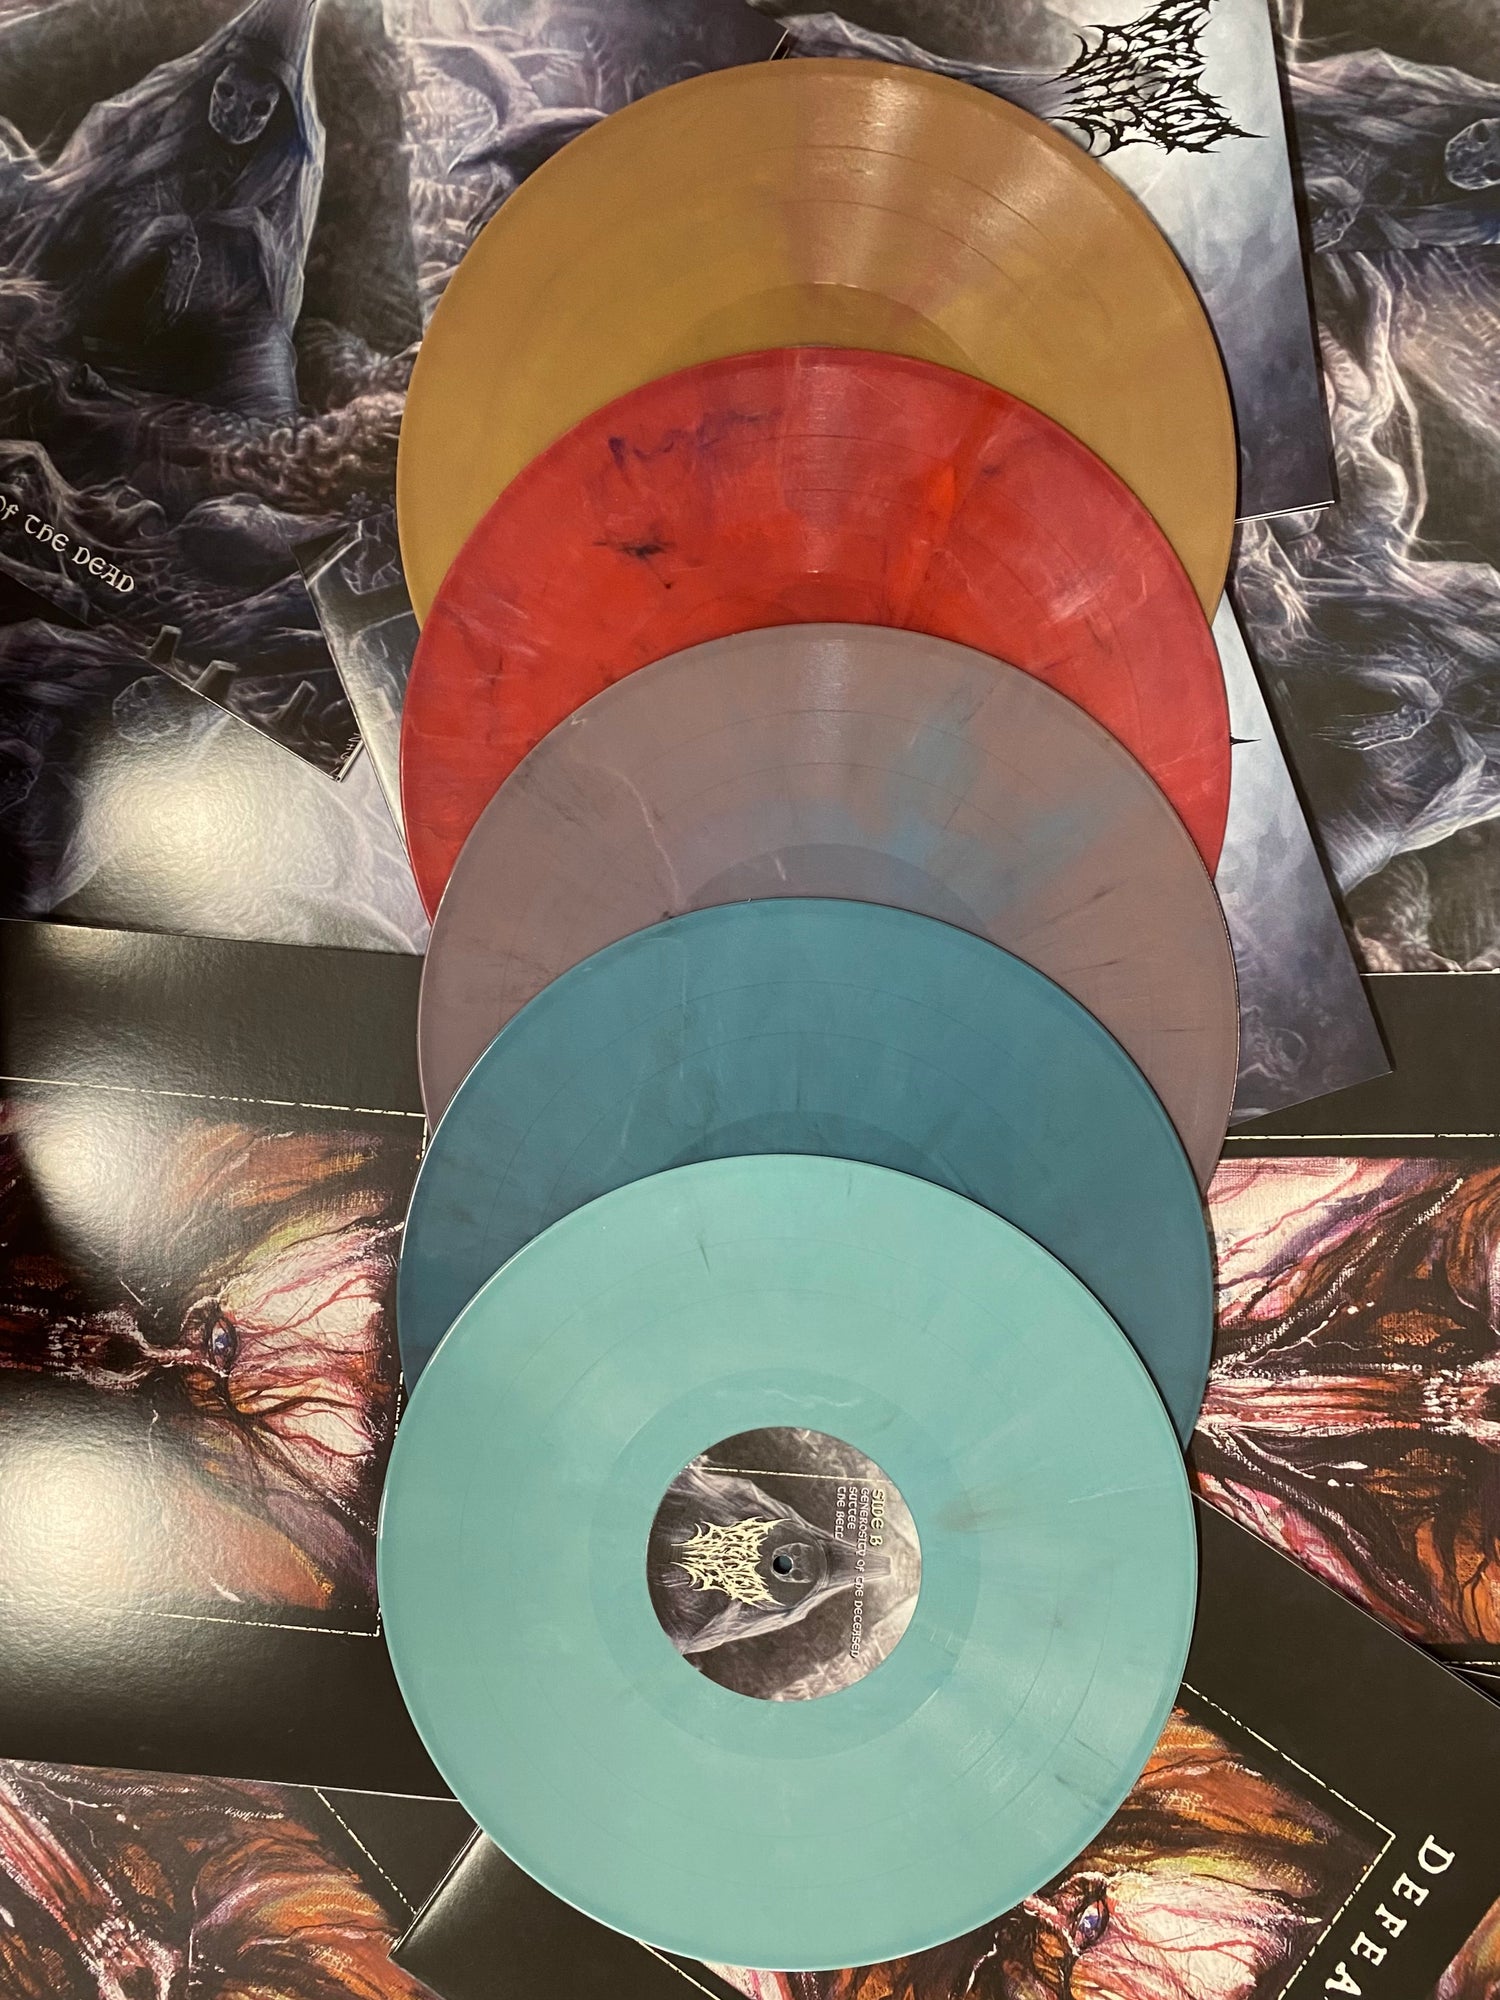
- Start by picking a vinyl color, select your quantity, add an insert or a gatefold, and check out securely using the payment method of your choice!
- Your personal, dedicated project manager will contact you by the next business day to confirm your order details and gather any additional information (as well as provide instructions on how to submit your audio and artwork).
- Sit back and relax! Your records will arrive ASAP!
Need help? Email us and we'll walk you through it!
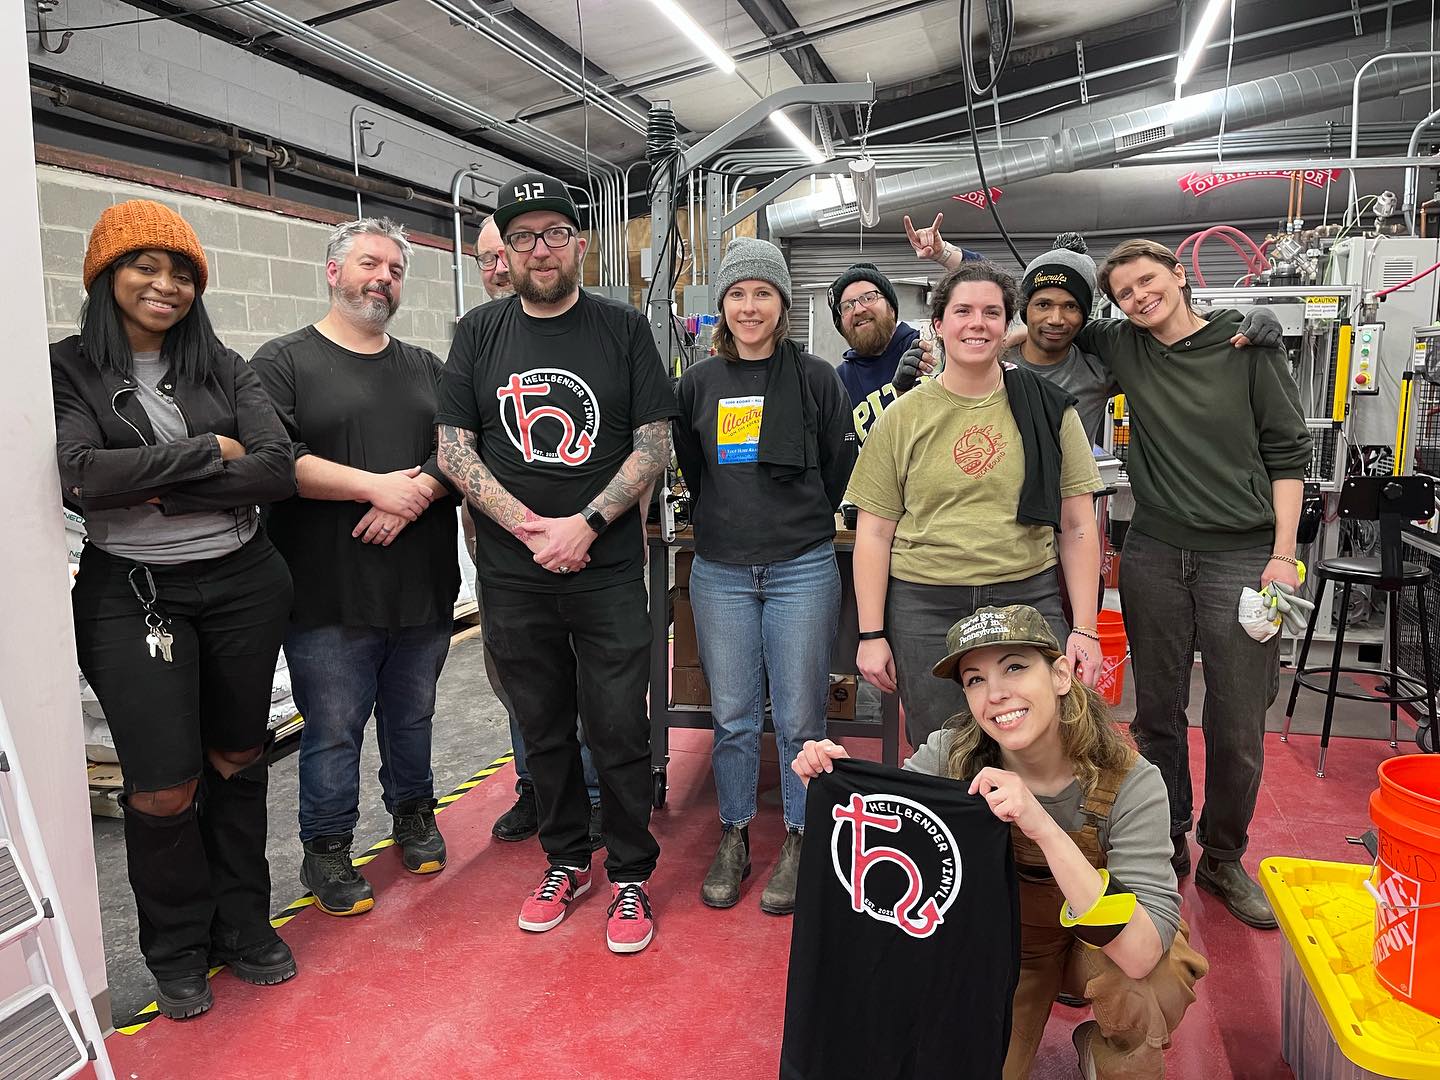
Never Done This Before? No Sweat!
It's ok if you don't have all the answers, because we do! Holding a record in your hands that contains your music is one of the best, and most incredible, feelings in the world - but getting there can be stressful. Let us help you through this process by showing you as much as we can about making vinyl!
The Hellbender Vinyl Process
Obviously, it begins with you and your music! When you send your audio to your project manager via sharable link (Dropbox, Google Drive, etc), please send the highest possible bit-depth and highest sample rate available in an uncompressed format (such as WAV or AIFF), and 24-bit masters are preferred over 16-bit.
Other tips:
- Center bass frequencies such as bass guitar and kick drum (including stereo synths being used as a bass element).
- High-frequency information can cause distortion and potentially damage the equipment. Pay special attention to "sss" sounds on vocals, hi-hats, tambourines, and extended or prolonged high-frequency content from synths.
- Avoid "brick wall" limiting and other extreme forms of compression. If a heavily-limited master is required for digital distribution, then this would be a case where a separate "vinyl-only" master might be appropriate.
- Be sure to make sure your bass/low-end is in phase and/or panned mono. Consider using high-pass filters as well.
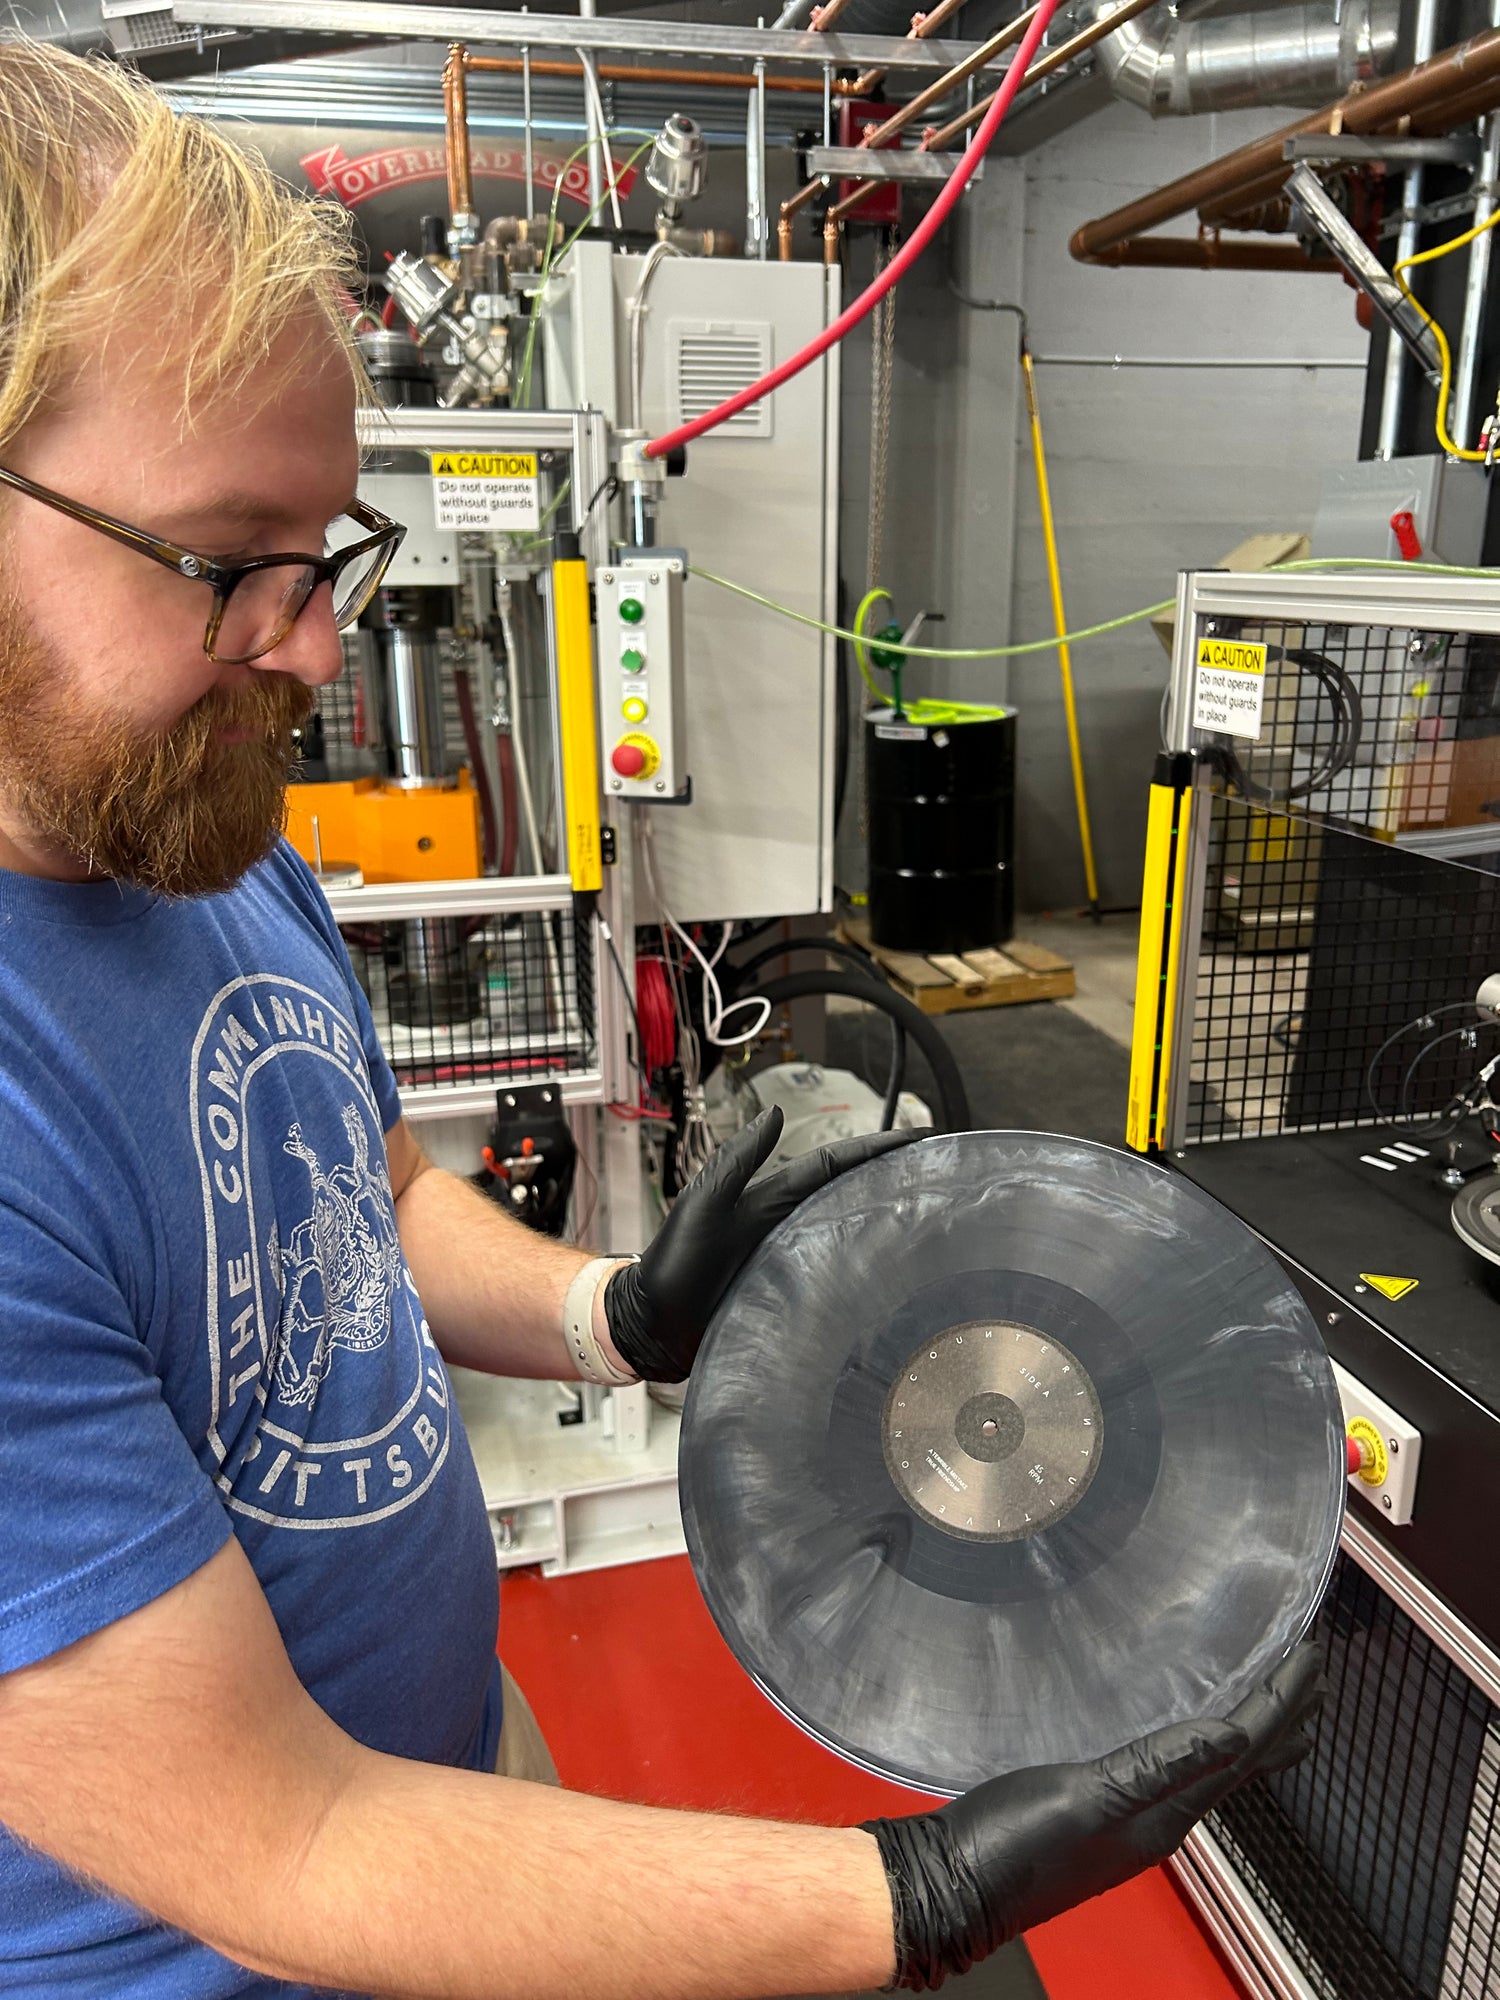
A Few Short Words About Very Long Vinyl Record Side Lengths
For best results, we recommend a maximum of 18-20 minutes per 12" side at 33 1/3 rpm. We can and do make longer records, but volume-to-disc has a direct correlation with running time - the shorter your record, the louder it can be made!
Conversely, the longer your side is, the lower the volume might end up to disc. There's only so much room on a 12" record! Louder records take up more space, but if your running time isn’t too long, it will all fit just fine. When we make a record that's 25 minutes per side, however, sometimes our only option is to lower the volume in order to physically make all of those grooves fit on the disc. As a result, your 25-minute side is quieter, and pops and clicks that are inherent to the format become much more noticeable. Some of the benefits of a louder cut include masking the noise floor as well as other ticks and pops, and for those reasons we suggest 18-20 minute 33 1/3 rpm maximum sides whenever possible.
Remember, you can always put out a double LP!
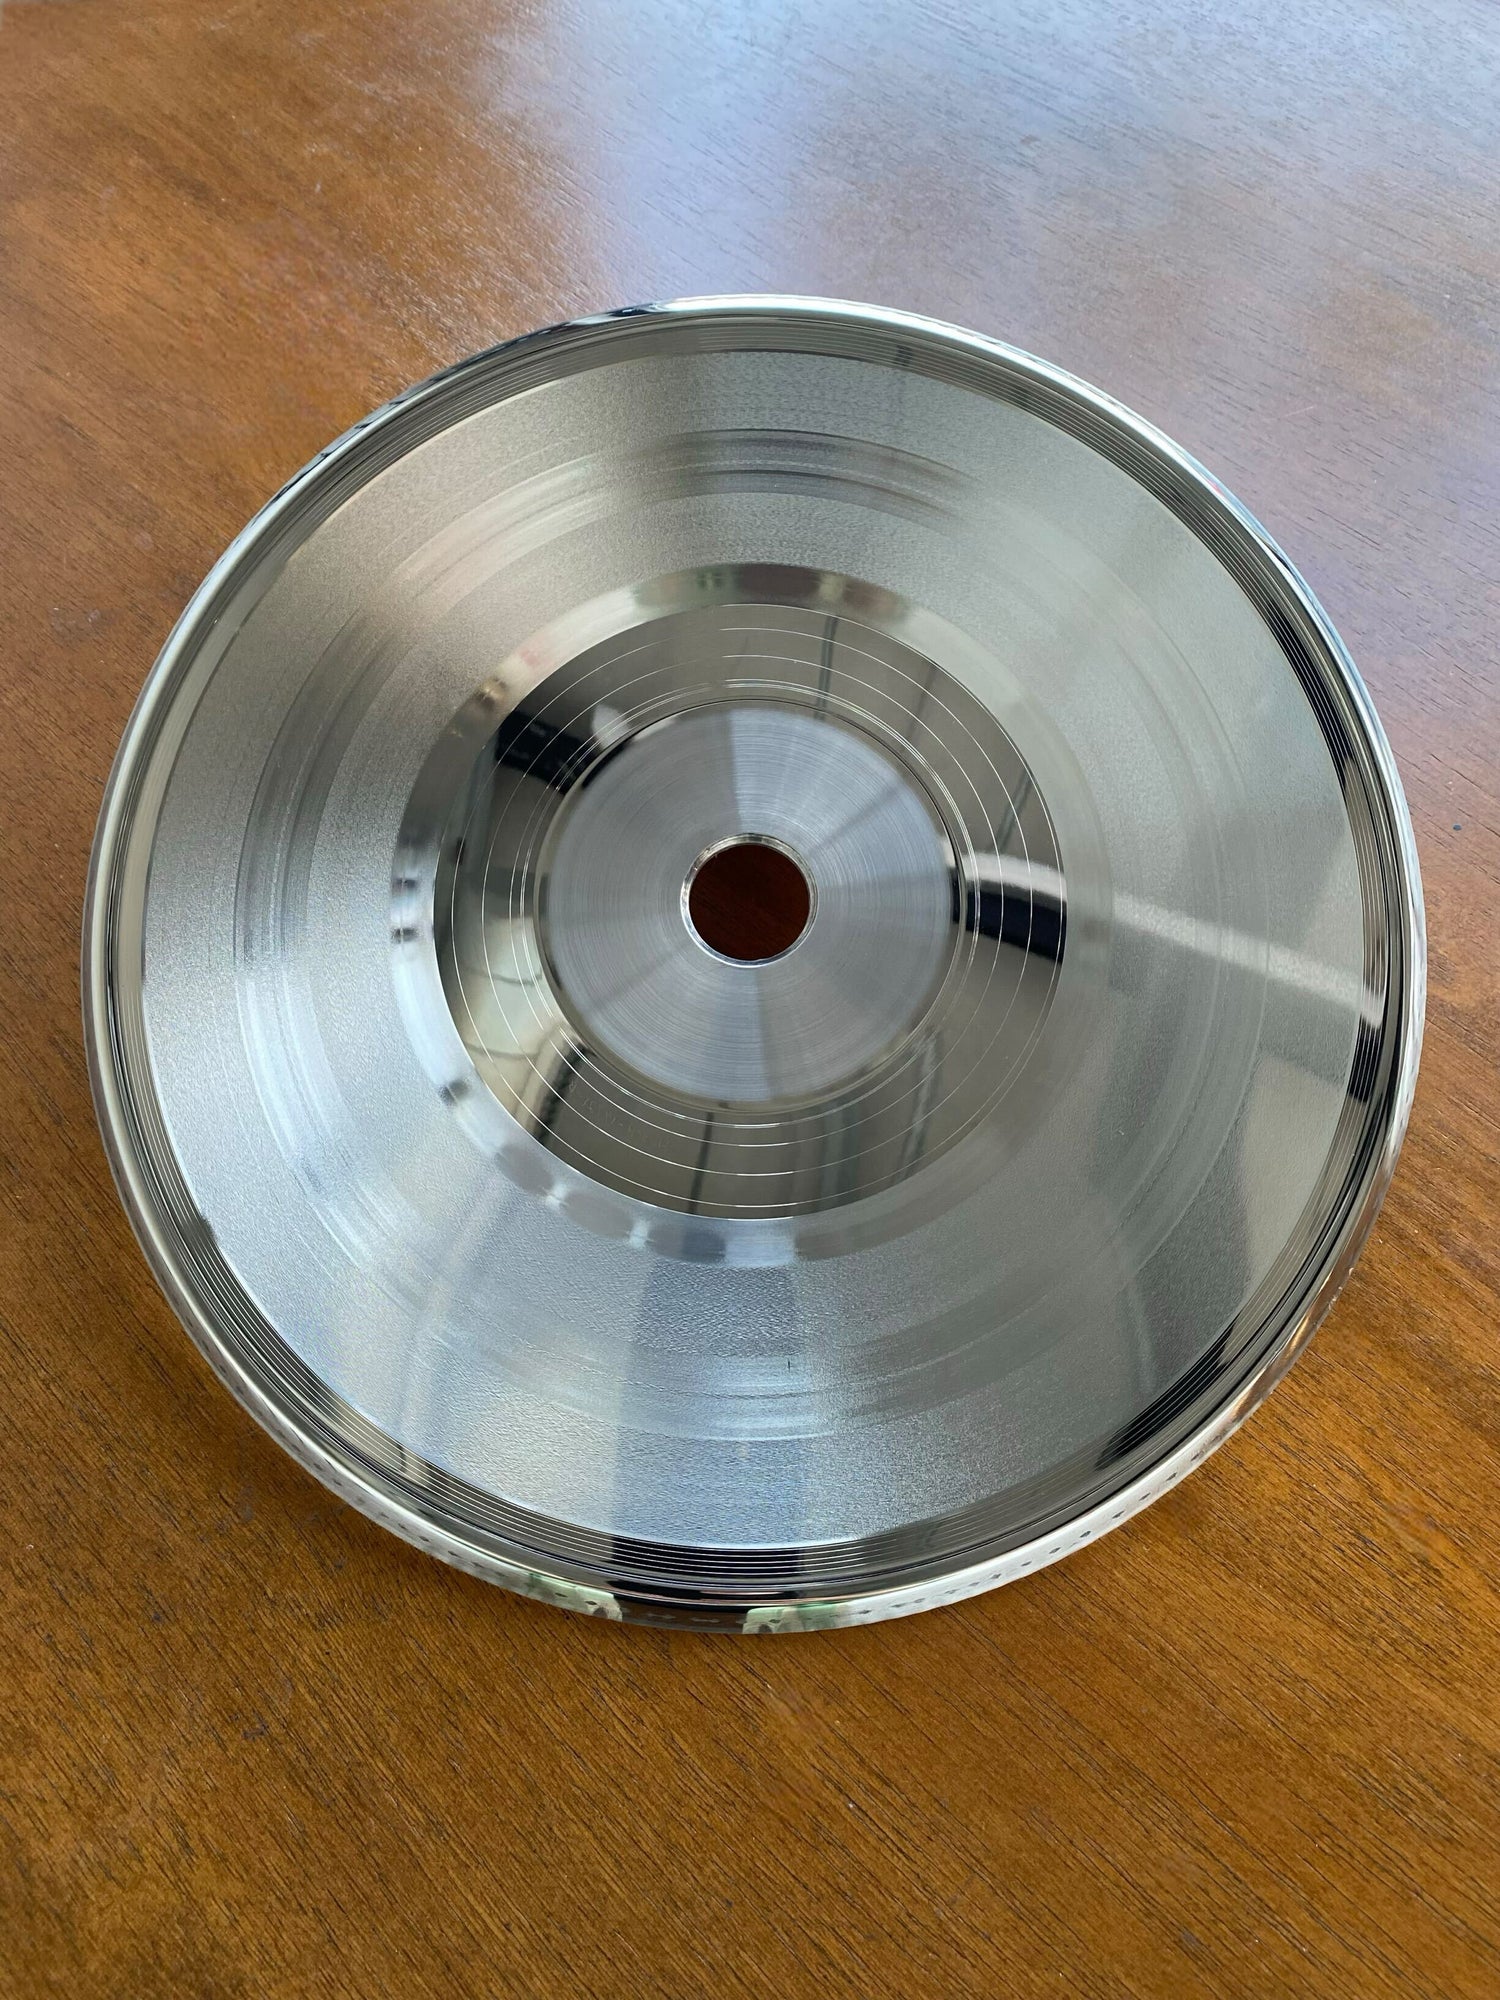
Lacquering & Plating
Lacquering is the next step in the vinyl record manufacturing process. Your digital audio files are physically carved into grooves on a nitrocellulose disc called a lacquer by a team of Grammy Award-winning engineers, using a fully-restored vintage Neumann VMS-70 mastering lathe rig.
The lacquer then undergoes an electro-forming process in a bath of liquid silver and nickel (referred to as "plating") in which the stampers that will actually press your records are created!
Part of the reason that you may be able to find cheaper vinyl record pressing options from other manufacturers is because we never use a DMM (direct metal mastering) process to create your stampers. While the cost is less expensive for records created using DMM, they are often criticized for lacking the "warmth" that music fans expect from vinyl audio. DMM cuts are also not ideal for records that may be re-pressed many times over the years, because they deteriorate over time. Lacquering is the preferred "old school" method of vinyl enthusiasts!
Hellbender Vinyl Standard Weights
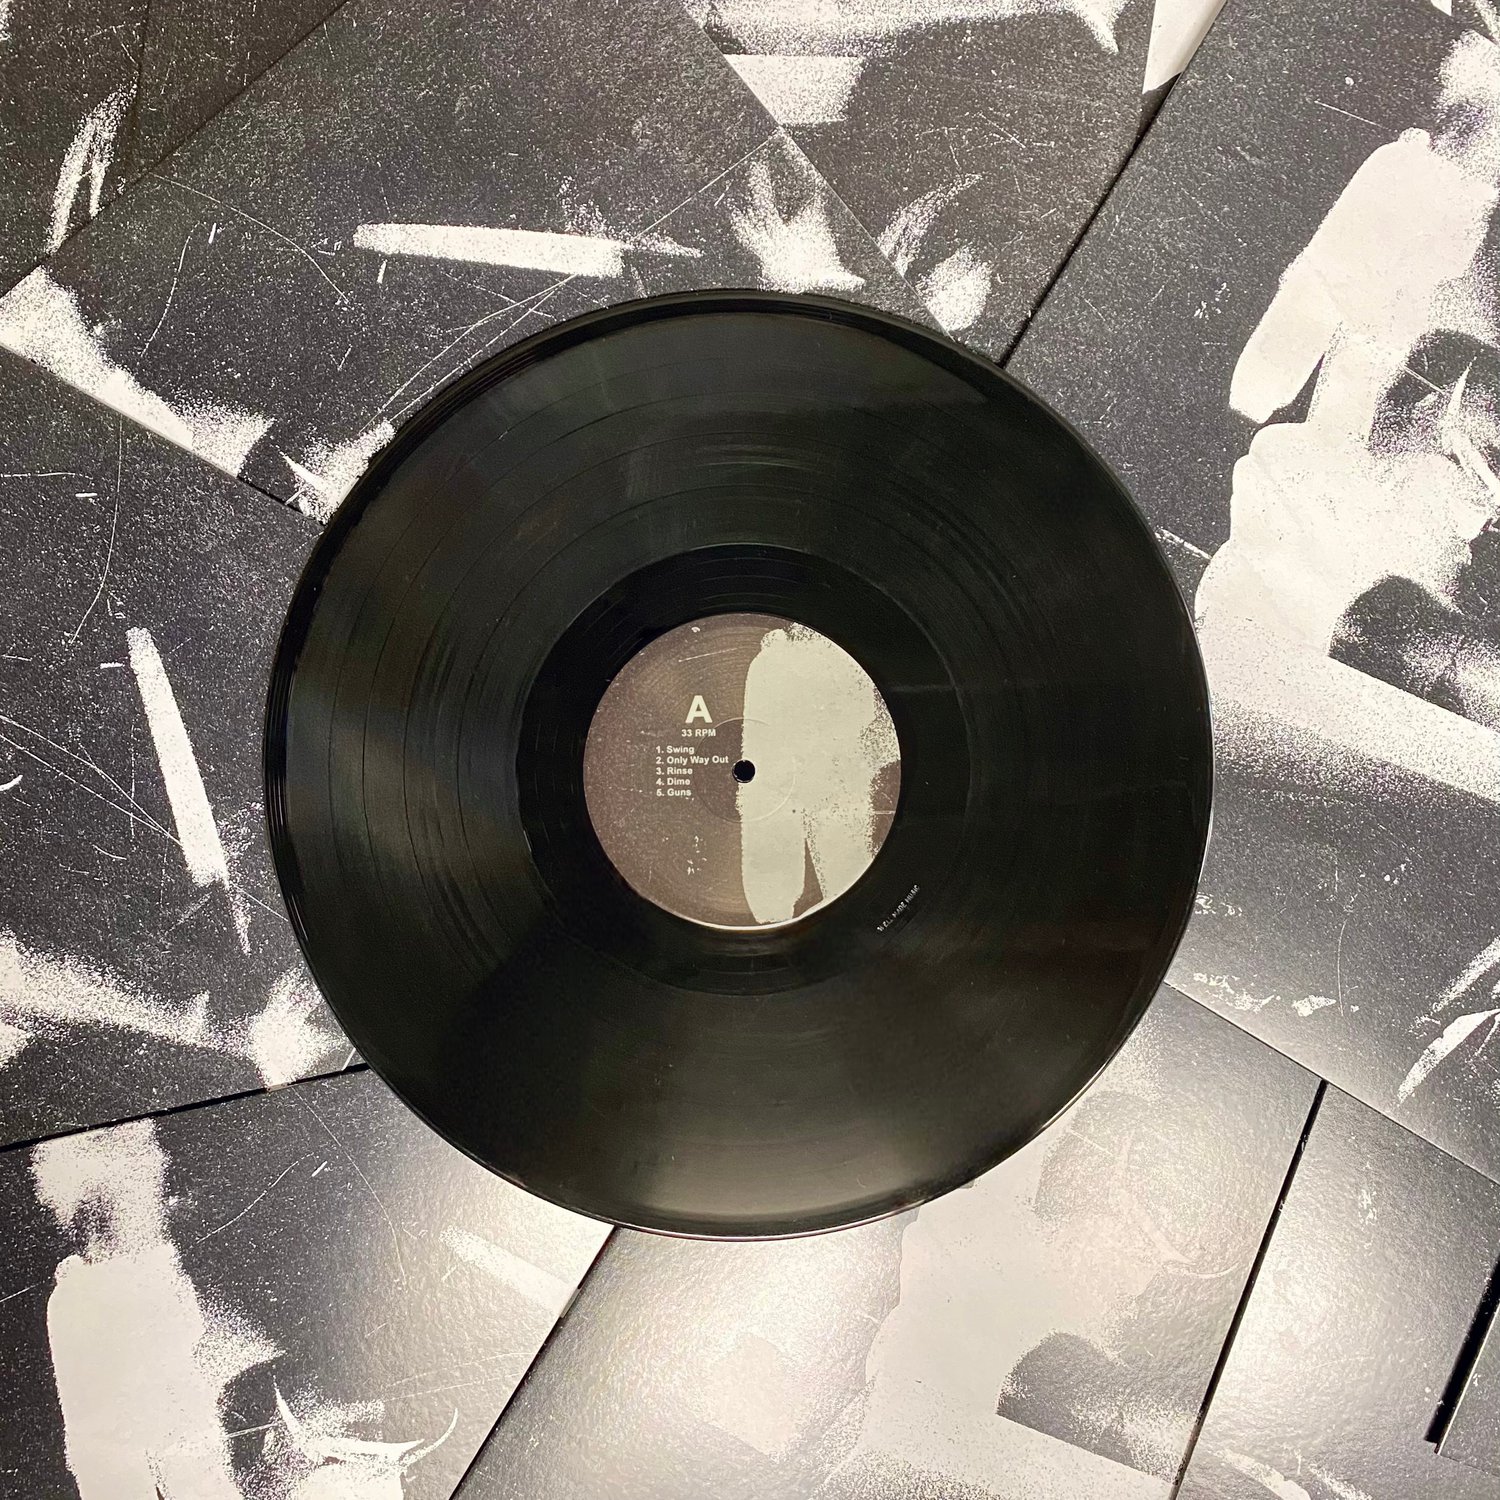
The "standard" weight of a vinyl record will vary from manufacturer to manufacturer. While other facilities may settle for 140 grams, or even 130 grams, Hellbender Vinyl sets its standard weight at 150 grams! A heavier record is more durable and will generally sound better for a longer time. To us, it’s all about durability and quality. We want to ensure the best possible audio quality and to provide the best possible listening experience for your vinyl records!
Hellbender Vinyl Quality Control
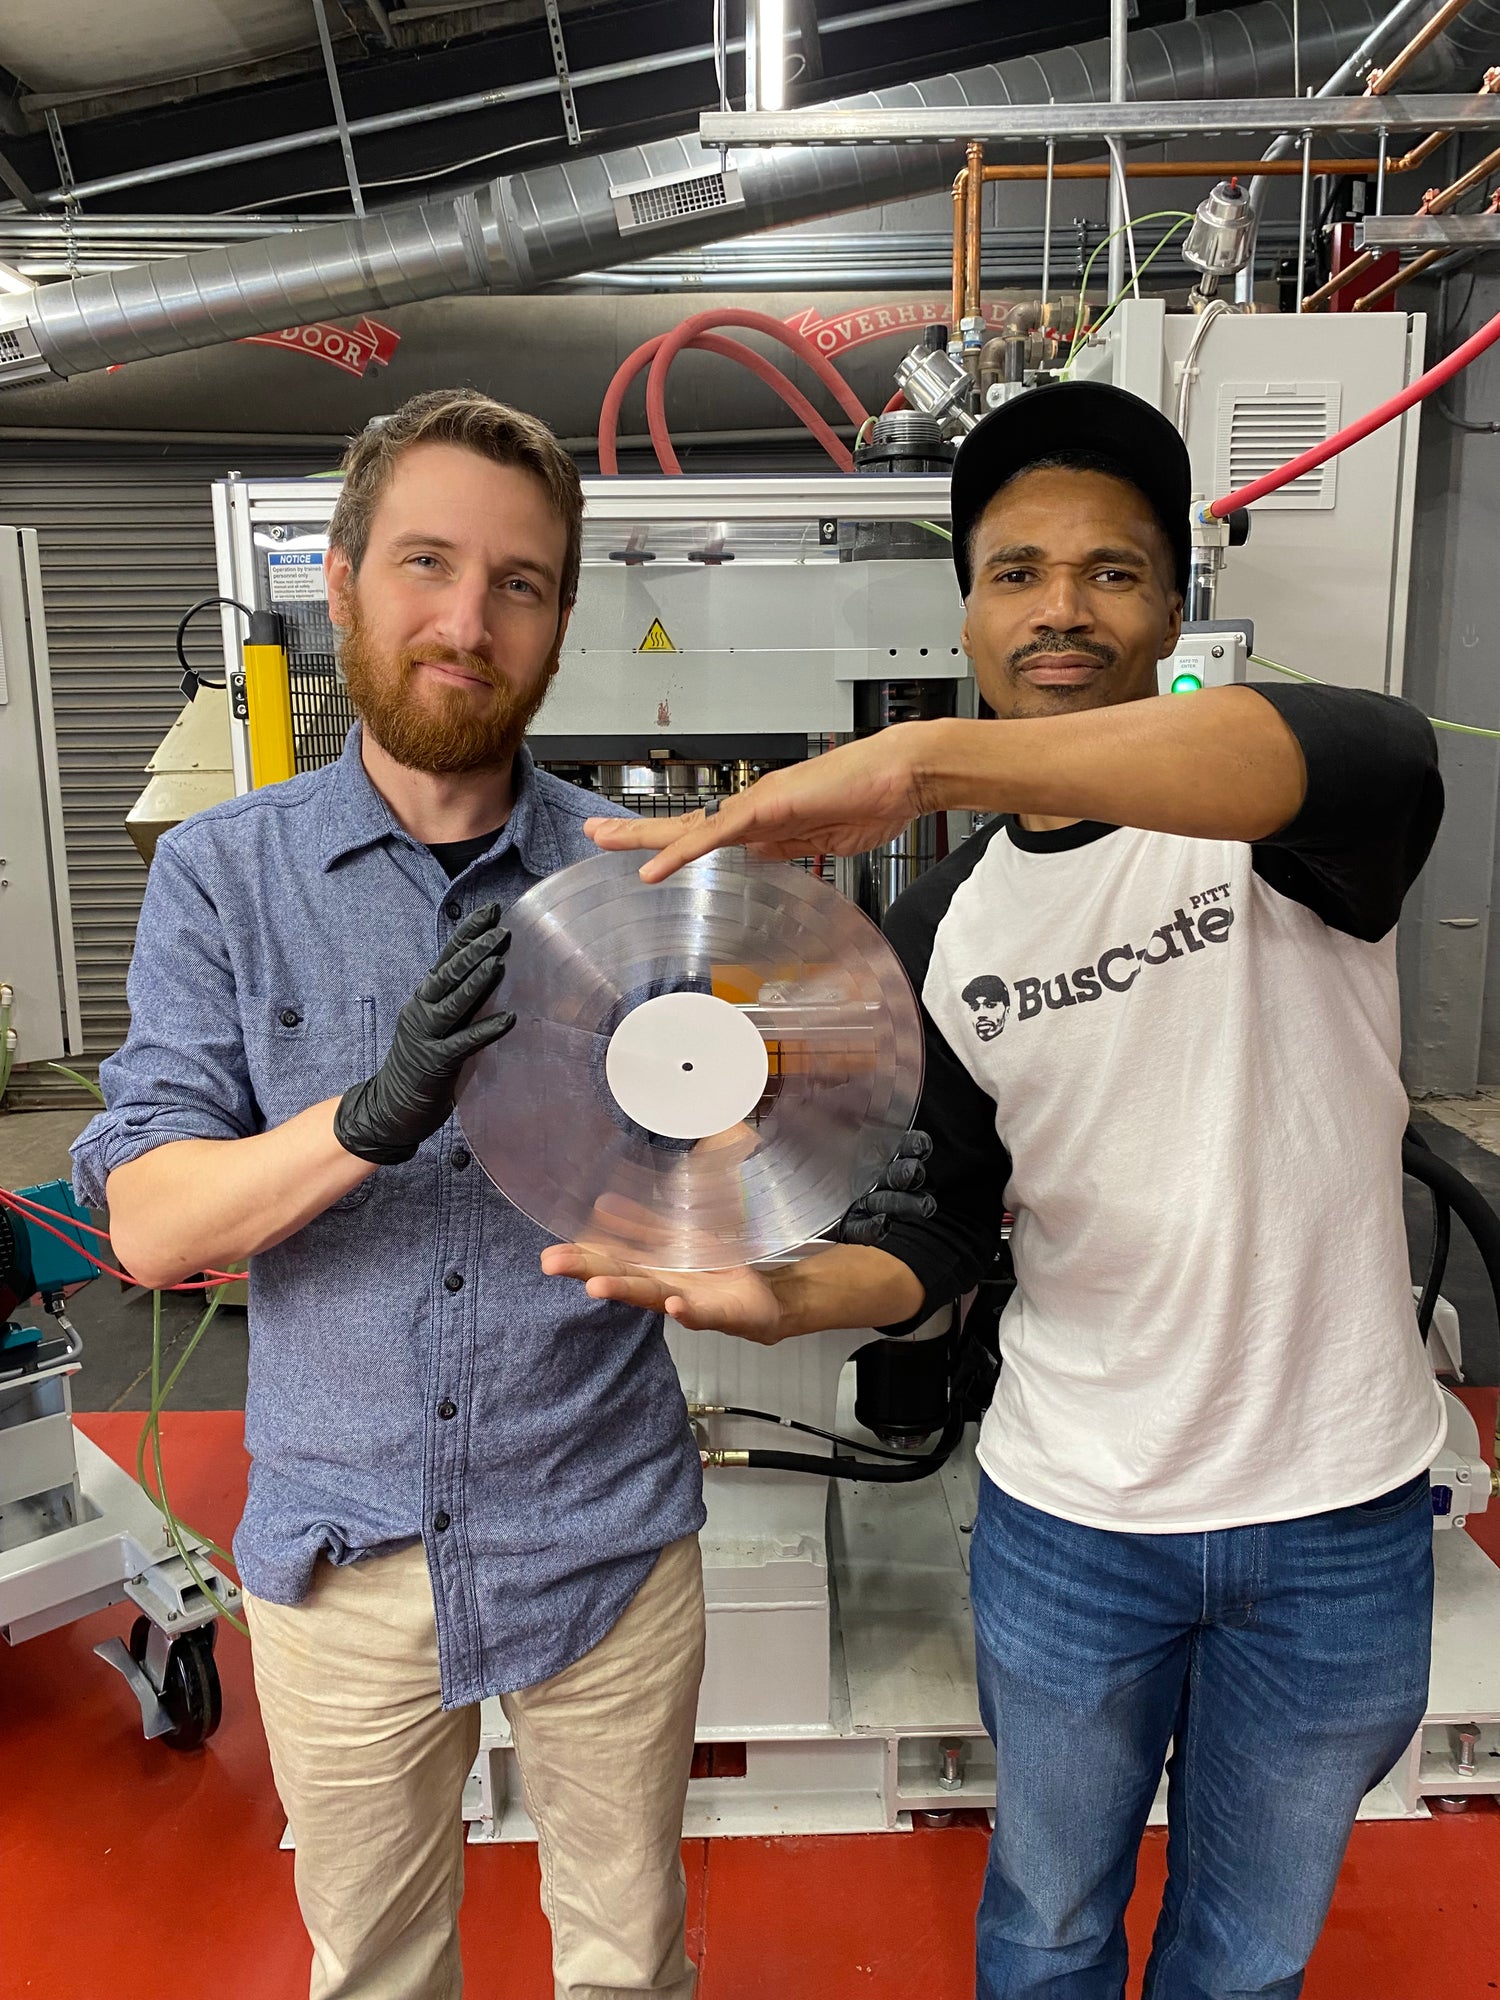
Quality control is not uniform across the vinyl record manufacturing industry, but Hellbender Vinyl is proud to be leading the way with our 5x Quality Control!
Hellbender Vinyl listens to more records per order than any other vinyl plant in the world. As we press your vinyl, we inspect and test the physical elements of the records, as well as the audio of the finished product. After each record has been pressed, we allow it to cool under the weight of special plates in order to ensure that they remain perfectly flat. Once they're fully cooled, we insert them lovingly by hand into sleeves for protection and then assemble them into jackets, add inserts, shrink wrapping, stickers, and other elements of your packaging.
Notes are kept and mechanical adjustments made are made during the process as necessary. Common issues such as imperfections and off-centered records are caught and removed from your order so that the records that arrive on your doorstep will be as close to perfection as they can be!
"What About Art?"
Please use our templates for all submitted artwork at no additional charge, and contact us if you have any questions or concerns.
Collapsible content
12" Record Templates
7" Record Templates
Center Label:
Jacket:
7” gatefold jacket (1 or 2 pockets)
Insert:
7” double-sided single-page insert
Sleeve:
10" Record Templates
Center Label:
Jacket:
10” gatefold jacket (1 or 2 pockets)
Insert:
10” double-sided single-page insert
Sleeve:
Artwork Specifications
- Please send all artwork files to your project manager via sharable link (Dropbox, Google Drive, etc).
- Acceptable formats: Photoshop (PSD, EPS, TIFF, or PDF), EPS with embedded images and outlined fonts, print-ready PDF files with embedded fonts, or InDesign packaged files with fonts and images.
- Do not resize or modify templates.
- Do not use images from web pages. Their resolution is 72 dpi, and therefore not acceptable for printing.
- Files created in Microsoft Word, PowerPoint, Adobe PhotoDeluxe, etc. should not be used to create your artwork.
- All files must coincide with specific templates. If you require a specific dieline, inform your project manager.
- Dielines should never be embedded or flattened with the artwork. They must be placed on a separate layer.
- All files require a bleed (1/8") and type safety (1/8") for cutting purposes. This allows for any possible shifting on press, and ensures that none of your text will be cut or caught in a fold.
- Raster-based file resolution should be at a minimum of 300 dpi.
- EPS, PDF, AI, or InDesign files are recommended for all text, line art, and flat solid colors.
- Raster-based text may not produce desired results, since they are pixel (dots) based, not vector (line) based.
- All transparencies, drop shadows, gradients, and special effects have to be flattened or rasterized.
- Supply your own fonts to avoid subtle or obvious differences in your finished product, including text reflow. Embed all fonts or convert text to outlines/curves to avoid having to send font files.
- CMYK color information needs to be indicated clearly in the file. Convert all RGB images to CMYK.
- Font size should be no less than 5pt (bold). For knockouts, font size should be no less than 5.5pt. Line width should be no less than .5 pt., including text and artwork.
- If using a barcode, the approximate size of your barcode should be 1.25" x 0.5". Always place your barcode on a white background box. Bars must be a 100% black vector-based file. Barcodes embedded in Photoshop or set up as CMYK may affect scannability.
Start your order today!
Now that you've got all the information, what are you waiting for?

